
Boundaries allow fleet managers to create an area on the map which they may use to better manage their vehicles. When coupled with alarms, boundaries allow managers to receive alerts when a vehicle enters or exits a defined area.
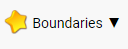
1) When logged into your Fleet.NET account, click the "Boundary" button in the top row.
2) A button will appear with the text "Create new boundary" in the top left of the map. Click this to begin drawing your boundary.

3) Click on the map to begin creating your boundary. Each click on the map will create a point along the border of your boundary, with a straight line connecting each to form the shape. When you are satisfied with your boundary, close the shape of your boundary by clicking again on the first point of your boundary.
4) Afterward, a window will appear prompting you to name your boundary, as well as assign any coloration to it that you would like. When you're satisfied, click the "Submit" button and your boundary will be saved.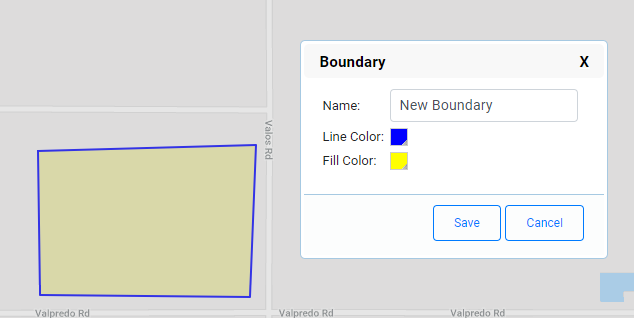
Comments
0 comments
Please sign in to leave a comment.